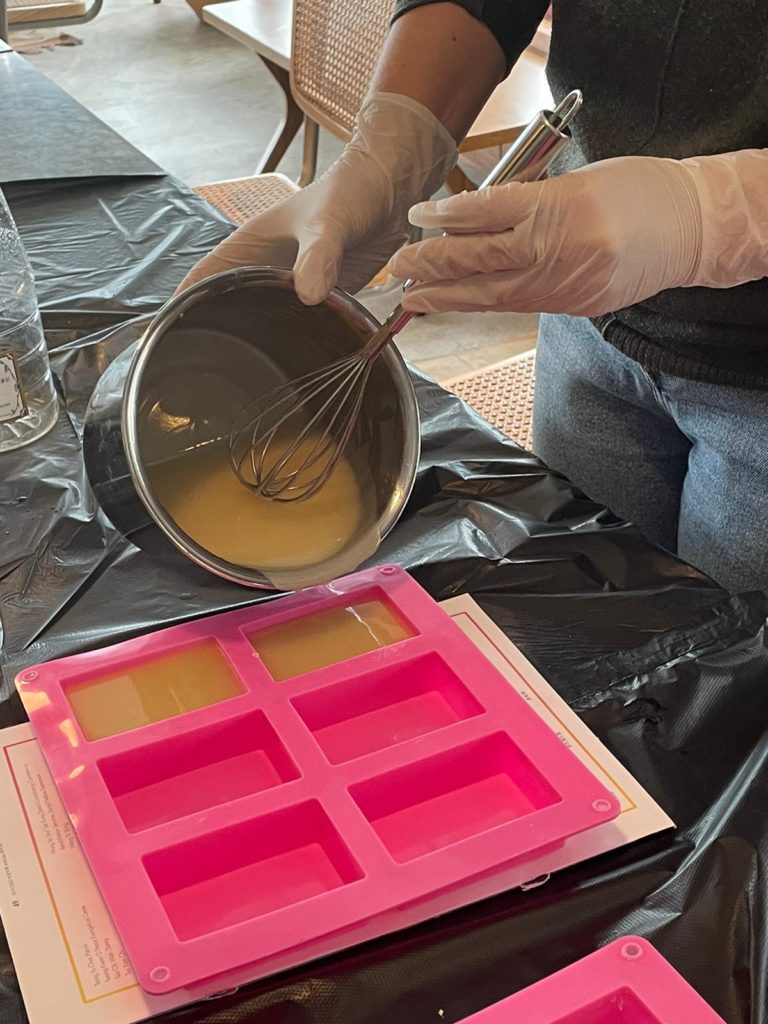
On 17 April, we organized a household soap making workshop for The Nate residents.
In this workshop, our residents had a chance to make their own natural soap using natural ingredients including olive oil, palm oil and coconut oil together with fragrance. The ingredients are 100% natural and free of toxic chemicals to minimize allergies. You can follow the recipe below if you would like to DIY soap at home!
INGREDIENTS
- 87 g Sodium hydroxide
- 200 – 250 g Distilled water
- 300 g Olive oil
- 200 g Palm oil
- 100 g Coconut oil
- 10 ml Essential fragrance
Step-by-Step Guide
Now that we’ve got the basics, let’s get down to soap making:
Step 1: Mix the Oils
Stir gently all the liquid oils with a blender, to avoid adding air to the mixture. Then heat up the oil mix up to 40-50 °C – use a thermometer to check.
Step 2: Mix the Water and Lye
This step requires the most caution. Add the distilled water to a container, then slowly add the lye, bit by bit, until it is fully dissolved. The solution could go up to 90 °C, set it aside and wait till the solution drop to 40-50 °C – use a thermometer to check.
Step 3: Mix the Oils with the Lye Water
Once the oil mix is at the right temperature, you can pour in the lye water, mixing it until they are both incorporated.
Step 4: Bring the Soap Mix to Trace
Using a hand blender, stir in the mixture until it reaches a creamy, pudding-like consistency. Throughout this step, the lye and oils emulsify, in a process called ‘trace’. This doesn’t take long using a hand blender, but if you don’t have one, you can use a whisk – just bear in mind that it will take a while to reach the right consistency. Once the mixture is brought to trace, you can also add ingredients such as fragrance oils.
Step 5: Add to the Mold
Quickly but carefully, pour the soap mixture into molds, making sure to fill them to the top – unlike cakes, soap bars won’t rise as they rest. Give the mold tray a gentle tap to get rid of any air bubbles that might be trapped inside. Cover the mold in cling film and wrap it in a towel, to maintain the residual heat and allow the saponification process to start.
Step 6: Leave to Rest
It usually takes around 24 hours for the soap bars to harden. You can check them after this time, and if they still feel a bit soft, give them another day. Once the soap bars reach the right consistency, take them out of the molds, and leave them to cure for 4 – 6 weeks.


